Cooler Xtreme : Coolers
: Graphics / VGA Cooler : Full Review Of Blue Orb
Installation
Continued
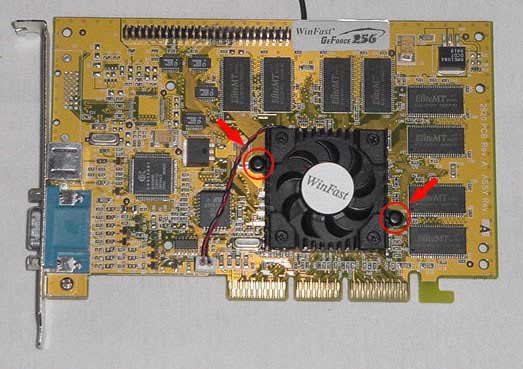
Although the
installation on the Asus v6800 was fatally flawed, the installation on the
Leadtek was a breeze. I simply popped out the pins that held the heatsink
to the card (shown in pic bellow) and pulled off the heatsink.
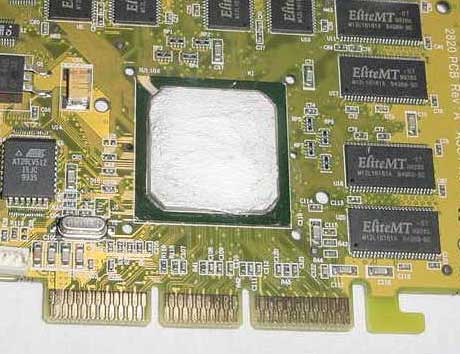
After the heatsink
was off I carefully cleaned the top of the GPU with rubbing alcohol and
Qtips/cotton balls as best I could. The next step is optional but I highly
recommend it. After the chip was clean from the old thermal grease I applied
a layer of new thermal paste thinly and evenly. This is a time when more
is not better, so don't go hog wild.
Your chip should
look something like this (though probably better) when it's done.
Once that was
ready I squared up the orb with the same holes that the previous heatsink
used and laid it down. Then I grabbed the push pins and inserted them through
both the blue orb holes and the video cards until I heard a small snap which
meant that they were all the way though. After it was installed is when
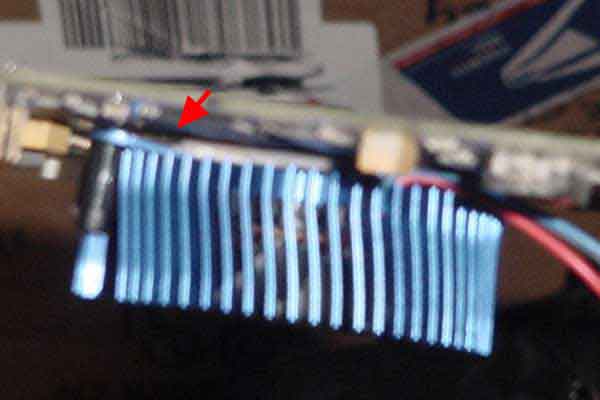
I first noticed one of the problems that this cooler has, it's flimsy. Since
the orb is both; A: made out of aluminum and B: the aluminum is thin, the
orb is easily bent. I couldn't get a very good picture of this, but you
can kind of see what Im talking about in this one.