Home

News

Coolers

Audio/Sound

Articles

Download

Guides

Forum

Links

Site Info

Feedback

Price


Copyright © 2001 Cooler Xtreme. All Rights Reserved.


    Home

    News

    Coolers

    Audio/Sound

    Articles

    Download

    Guides

    Forum

    Links

    Site Info

    Feedback

    Price


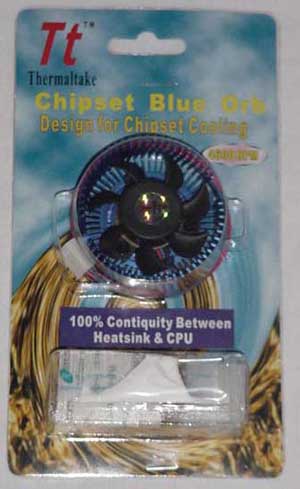
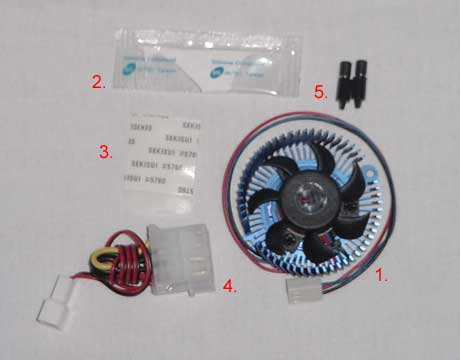
Cooler Xtreme : Coolers : Graphics / VGA Cooler : Full Review Of Blue Orb


Full Review Of Blue Orb

If you're not familiar with the blue orb, or need your memory refreshed, basically what it is is a heatsink/fan unit (HSF) designed by Thermaltake for chipset cooling. In this case chipset cooling includes video card GPUs and is what I’ll be using to test the heatsink.

Specs:
Fan dimensions
50x50x15mm
Blorb dimensions
53mm diameter x 25mm high
Rated Voltage
12V DC
Rated Current
0.16A
Starting voltage
7.0V DC
Rated Speed
4600 RPM
Max airflow
15 CFM
Noise Level
26.4 dBA
Input Power
2.16W
Bearing type
Ball bearing
Lifetime (MTBF)
50000 hours


Note: If you look closely you'll notice that it says "100% Contiquity Between Heatsink & CPU" I don't know if this was an oversight or what, but this heatsink was definitely *not* designed for CPU cooling. While I’m sure the text is supposed to mean that it has 100% contiquity to a GPU or the northbridge on a chipset, I’m positive someone out there would try to use it on their CPU.
In the package is everything you could need to install the blue orb, including :
1. The blue orb itself
2. Thermal grease
3. Thermal double-sided tape
4. 3 pin to 4 pin power adapter
5. Push pins for installing the blue orb
Let’s go over the contents quickly. First the blue orb itself. Enough said. Second is thermal grease, which is a compound used to create better contact between heatsink and chip for improved cooling. Third is the thermal double-sided tape used for installing the orb if you don't have holes in the right spot, or they are the wrong dimensions (more on this later). Fourth is the 3 to 4 pin power adapter to use if you don't have any 3 pin power connectors, or all of yours are occupied. Last but not least are the pins for installing the orb onto the chip if you have the holes that match the dimensions of the orb. Again I’ll go into this later.